Instagram Reels Cover Design: Stop the Scroll Before Your Video Even Plays
December 1, 2025 by Charlotte Davies
There's a detail most Instagram creators overlook that quietly kills their profile performance: the Reels cover image.
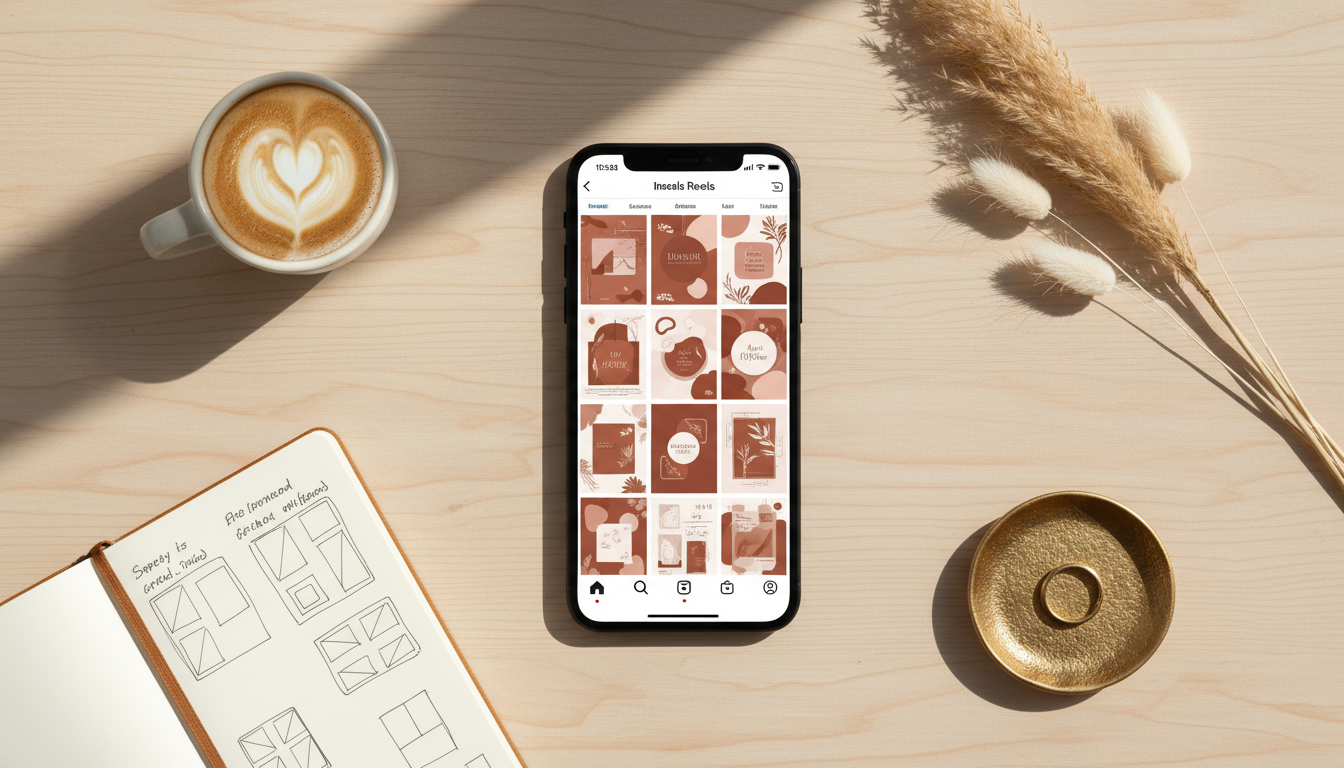
When someone lands on your profile, they see a grid. Every Reel you've ever posted is represented there by a single static image. If that image is a random freeze-frame — your mouth open mid-sentence, a blurry motion moment, or worse, a dark frame from the video intro — your profile looks messy, inconsistent, and unprofessional.
Compare that to a profile where every Reel cover is beautifully designed, consistently branded, with clean typography and a compelling visual. The same creator. The same video content. Dramatically different first impression.
Instagram's algorithm isn't just evaluating individual posts in isolation. Profile visits, dwell time, and follow rates are all signals. A visually cohesive profile grid increases the likelihood that someone who discovers your Reels in the feed will convert to a follower when they click through to your profile. The cover image is a critical part of that journey.
Why Auto-Generated Cover Frames Hurt Your Profile
When you upload a Reel without setting a custom cover, Instagram picks a frame from your video automatically. The problem is that video frames are not designed to be viewed as static images.
Video is optimised for motion. A frame that looks completely natural when it's part of a 15-second clip — a transition moment, a blink, a pan — looks odd as a static thumbnail. Text that appears on screen for half a second in motion becomes confusing static decoration in a cover image.
There's also a practical resolution issue. Instagram displays Reel covers at 9:16 aspect ratio on your profile grid, but it crops them to 1:1 square for the grid view. A video frame chosen by Instagram's algorithm is rarely composed with both formats in mind. You end up with faces half-cropped, text cut off, or the most visually uninteresting part of your video front and centre.
The solution isn't complicated. It just requires creating a dedicated cover image rather than relying on a video frame.
The Two Formats You Need to Design For
Instagram Reel covers need to work in two distinct contexts simultaneously:
9:16 (Portrait — Cover View) This is the full cover image displayed when someone taps on your Reel or views it from the Reels tab. It fills the entire screen in portrait orientation. At this size, you have real estate for a face, bold text, a background, and branding elements. The mobile safe zones matter here — keep important visual elements away from the top 15% (where the account name sits) and the bottom 20% (where the caption and interaction buttons appear).
1:1 (Square — Grid View) This is how your cover appears on your profile grid. Instagram crops your 9:16 cover to a square, centred by default. You can sometimes adjust this crop, but the safest approach is to design your cover so that the most important visual element — usually a face or text — sits in the central square region of the 9:16 frame.
Designing with both formats in mind from the start saves you from the frustrating discovery that your beautifully designed 9:16 cover becomes an incomprehensible crop on your grid.
Cover Design Styles That Actually Work
There's no single "right" way to design a Reel cover, but certain approaches consistently outperform others in terms of profile engagement and follow rates.
Clean Text on Brand Background
Simple, high-contrast text on a solid or gradient background in your brand colours. This style works best for educational and business content creators — coaches, consultants, finance experts, productivity influencers.
The advantage: it's immediately legible in both grid and cover view. You can typically read the text even at the small grid thumbnail size. It also ages well — the same visual style will look consistent across 6 months of Reels.
The risk: it can feel corporate if not executed with personality. A slightly off-brand colour or a generic font kills the effect.
Creator Face + Text
The most human-feeling option: a well-lit photo or video still of your face, with a 3-4 word text overlay describing the Reel. This works across most lifestyle, fitness, beauty, travel, and personal brand niches where the creator IS the product.
The key is the photo quality. A badly-lit selfie with a text overlay still looks like a badly-lit selfie with a text overlay. The face needs to be clear, well-lit, and expressing something — even a confident, direct gaze works better than a passive neutral expression.
Minimal Branded Graphic
A flat illustration, pattern, or icon-based design consistent with your overall brand aesthetic. Common in design, architecture, fashion, food, and creative niches.
This style requires the most upfront investment in defining your visual identity, but once established, it's the most scalable — you can template it and produce covers quickly for every new Reel.
Screenshot With Context
A legible screenshot of your phone, a slide, or a graphic, overlaid with a brief description. Common in tech, productivity, and finance niches where you're sharing "how to" content and want to show the viewer exactly what they'll learn.
Practical Cover Specifications for Instagram
Get these wrong and even a well-designed cover will look slightly off:
- Recommended resolution: 1080 × 1920 pixels (9:16 at full HD)
- File format: JPG or PNG
- Safe zone for text/faces: Keep key elements within the central 1080 × 1350 pixel area (centre crop for grid view)
- Top exclusion zone: Avoid placing text in the top 200 pixels (account handle overlay)
- Bottom exclusion zone: Avoid placing text in the bottom 300 pixels (caption, buttons)
- Font minimum size: 80px at 1080×1920 for legibility at small sizes
One thing worth testing: upload your designed cover at the recommended resolution, then view your profile on a phone. The mobile viewing experience is what matters — your cover might look great on your desktop and slightly unclear on the actual platform.
What to Write on Your Cover (And What Not To)
The text on your cover is doing a different job than a caption or a title. It has about half a second to make a promise compelling enough that someone taps through.
The text that performs best on Reel covers tends to share a few qualities:
It's specific. "My morning routine" gets ignored. "I spent £2,000 testing morning routines for 60 days" makes you stop. Specificity signals that there's real substance behind the cover — a genuine finding, a specific technique, an actual result rather than generic advice.
It creates a gap. The best cover text tells you just enough to make you need to know the rest. "Why I stopped posting Reels for 3 months" works because you want the answer. "How to grow on Instagram" doesn't, because you already have too many answers to that question.
It's honest about what's in the video. Misleading cover text gets people to tap — and then immediately leave when the video doesn't match what the cover promised. Instagram's algorithm reads watch time and early drop-offs. A cover that overpromises and underdelivers actively hurts your reach.
It's short. Three to five words is the sweet spot at thumbnail size. A sentence that reads fine at full size becomes unreadable at 150px wide in a grid. If you can't communicate it in five words, you're probably trying to say too much.
What doesn't work: generic how-tos ("tips for better content"), vague emotional hooks ("this changed everything"), and inside references that only your existing followers understand. New visitors — the ones you're trying to convert to followers — have no context for those.
Building a Consistent Cover Template System
The creators with the most visually cohesive Instagram profiles aren't designing every cover from scratch. They have a template — or two or three — and they populate it for each new Reel.
A simple template system looks like this:
Template A: Face + Topic — Used for tutorial and how-to Reels. Your face on the right third, title text on the left. Same font, same colour, every time.
Template B: Graphic + Hook — Used for tips, lists, and quick-hit content. A clean graphic element (icon, pattern) with a single bold statement.
Template C: Screenshot + Label — Used for walkthrough and review content. A relevant screenshot with an explanatory label.
Once you define these three templates with specific fonts, colours, and layout rules, producing covers becomes fast and consistent. The profile grid starts to look curated and intentional, which is exactly the impression that builds credibility.
How to Update Old Reels With Better Covers
If you've been posting Reels for a while and most of them have auto-generated covers, going back and fixing them is worth the time. Old Reels with good covers continue to be discovered — Instagram surfaces them in Explore, in related content recommendations, and in search. A better cover on a 6-month-old Reel that still has genuine value can meaningfully extend its life.
To update a cover on an existing Reel: open the Reel, tap the three-dot menu, select Edit, then tap Edit cover. You can upload a new image from your camera roll. Instagram doesn't notify followers when you update a cover, so there's no risk of confusion — the Reel just starts showing better in the grid and in discovery surfaces.
Go through your last 12–18 Reels and identify which ones have the most valuable content but the worst covers. Prioritise those. Designing 10–15 better covers in a single session is faster than designing one at a time on a weekly cadence.
Using AI to Design Your Reel Covers
Designing covers consistently is one of those tasks that's easy in theory and genuinely tedious in practice. For every Reel, you need to open your design tool, load the template, update the text, export at the right resolution, then upload it separately from the video. If you're posting 4–5 Reels a week, this adds up.
AI-powered design tools are starting to change this. Rather than working from a blank canvas or a generic template, you can upload a photo of yourself, describe the Reel's topic, and receive a fully-designed 9:16 cover in seconds.
The best implementations don't just put your photo in a template — they consider the composition for both 9:16 and 1:1 viewing, adjust the lighting to work as a static image rather than a video frame, add brand-appropriate typography, and maintain the visual consistency of your overall profile aesthetic.
Tools like BrandForge AI can generate Instagram Story and Reel covers directly from your photos, applying this kind of transformation automatically. You upload a photo, describe the Reel, and the AI produces a cover designed for Instagram's 9:16 format with proper safe zones, readable typography, and visually compelling composition.
Cover Design for Different Creator Types
The right approach to cover design varies significantly by niche and audience. Some observations from creators across the UK, US, and Australia:
Business and B2B creators tend to perform best with clean text-on-brand-background covers that immediately communicate what's in the Reel. Their audience is time-poor and decision-oriented — make the value proposition obvious in the cover.
Lifestyle and fashion creators typically outperform with face-forward covers, where the creator's styling, expression, and personality is visible even at thumbnail size. The cover is as much about brand identity as content description.
Food and travel creators have the most flexibility — strong photography naturally works as a cover. The key is composition: food shot from above, travel shot with clear subject and context, always with enough visual interest that the static image makes someone want to watch.
Educational creators (finance, fitness, self-improvement) often use a hybrid approach: a graphic element (chart, checklist, phone screenshot) with a text overlay that summarises the takeaway. This signals credibility and clarity simultaneously.
The Cover-to-Profile Conversion Loop
Here's a pattern worth understanding: the path from Reels discovery to profile follow typically looks like this.
- Viewer sees your Reel in the Explore tab or their following feed.
- They watch some or all of it.
- They tap your username to visit your profile.
- They scan your grid.
- They decide whether to follow.
Step 4 is where your cover images do their second job. After watching a Reel they liked, a viewer is already warm. Your grid is the final conversion point. If the grid looks cohesive, professional, and packed with apparent value, they follow. If it looks like a random collection of uncurated video stills, they hesitate.
This is why treating your cover images as an afterthought is so costly. They're not just labels for individual Reels. They're the visual argument for why someone should commit to following your account.
Quick Reference: Cover Design Checklist
Before uploading any Reel cover, run through this:
- Designed at 1080 × 1920 pixels (9:16)
- Key visual elements within the central 1080 × 1350 zone (grid-safe)
- No important elements in top 200px or bottom 300px
- Text readable on a phone screen at thumbnail size
- Consistent with your brand colours and fonts
- Face or subject clearly visible in the grid (square) crop
- Saved as JPG or PNG under 8MB
One final tip: view your profile grid regularly on your actual phone, not just from a desktop. The editing interface and the mobile viewer experience are different enough that errors in composition and consistency show up differently on each.
Designing Reel covers properly takes time, which is exactly why most creators don't do it. But it's one of the highest-leverage improvements you can make to your Instagram profile — one that compounds with every Reel you post.
Try BrandForge AI's Story & Reel Cover template — free to start
Related reading
- YouTube Thumbnail Generator: Create Click-Worthy Thumbnails Without a Designer
- AI UGC Generator: Get Professional User-Generated Content Without Expensive Photoshoots
- Branding with AI: Strategy, Tools, and an AI Branding Kit (2025 Guide)
- AI and Brand Consistency: Maintaining a Unified Voice Across All Platforms